Technology
How to use Azure Virtual Desktop
Last modified 12/20/2024
Azure Virtual Desktop has replaced Remote.illinoisstate.edu as the virtual application and virtual computer lab service at Illinois State University available to students, faculty, and staff. This article will walk you through the different methods of accessing virtual applications and desktops in Azure.
Pre-Requisites
Understanding Different Client Types
While there are a few different methods of accessing Azure Virtual Desktop, we recommend using the desktop client wherever possible. The Windows App is a viable backup option. Please review the article below for more information on the different client types.
See Also
Accessing AVD: A Guide to Different Clients
Instructions
- Desktop Client Version - Windows (Recommended)
- Download and Install the Remote Desktop Client (64 bit) onto your Windows device. Note: To check which version of Windows you are running see the following article: Which Version of Windows Am I Running?
- If you do not have the prerequisite software, download and install .NET Framework 4.6.2 or higher
- If you do not use 64-bit Windows, download the relevant Remote Desktop Client for your machine below:
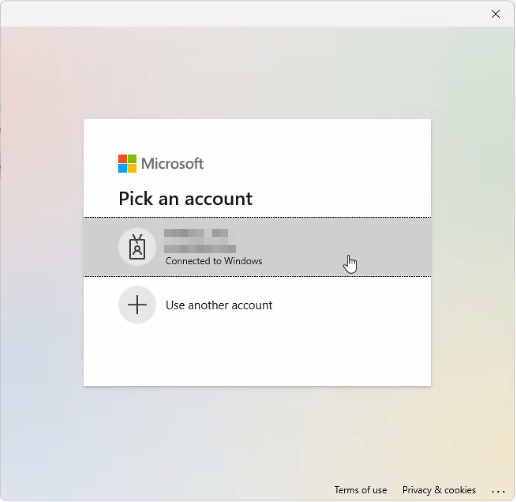
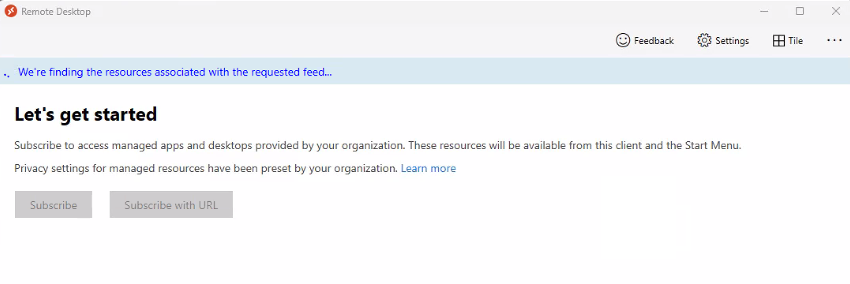
- After installing the Remote Desktop Client in Step 1, click the Subscribe button
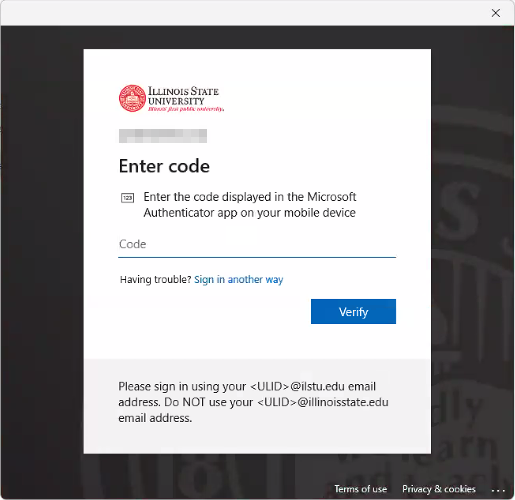
- Login with your ULID@ilstu.edu account
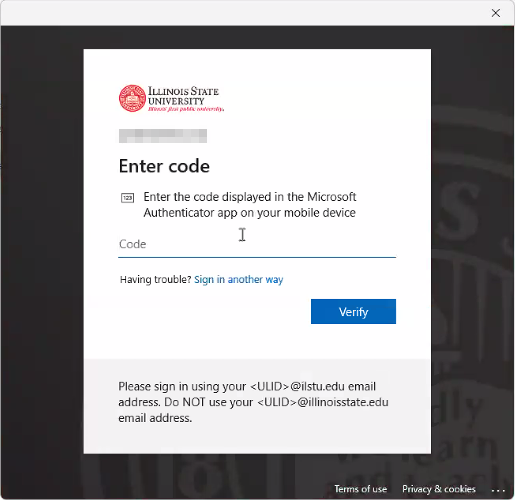
- Enter your MFA code from your mobile device when prompted.
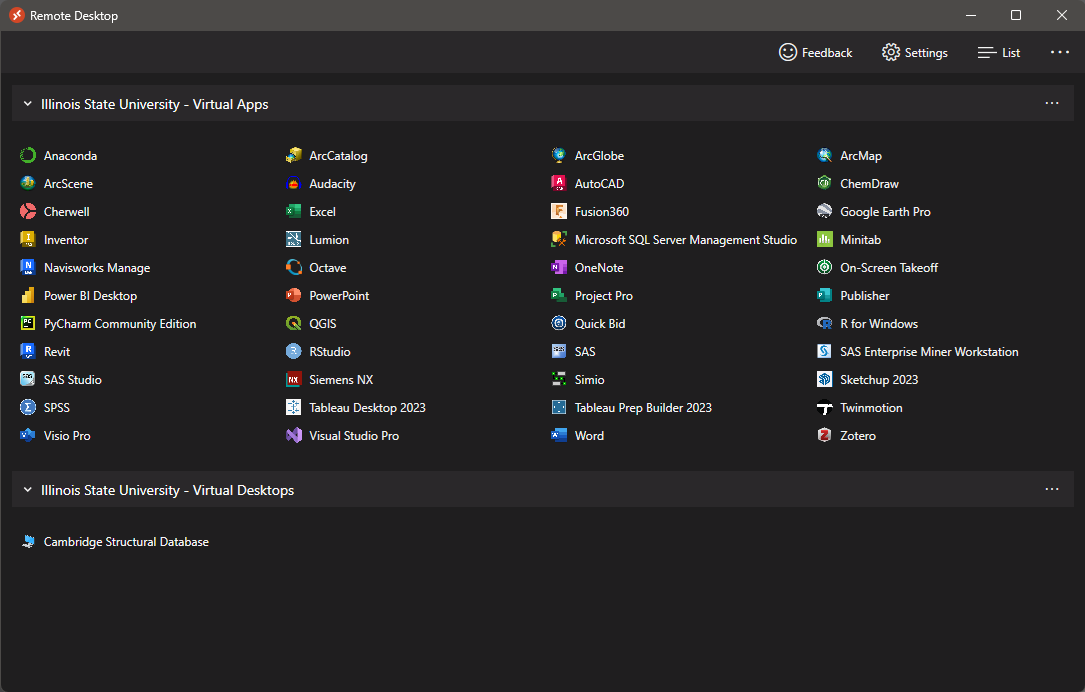
NOTE: You may be prompted with two MFA requests, approve both as you normally would. - Microsoft will find the resources assigned to you and display them
- Desktop Client Version - Mac (Recommended)
1. Follow the steps here to install the Windows App from the Mac App Store.
2. Once installed, it may ask to allow access to your computers microphone and camera. Hit the Continue button and the following OK buttons to allow access.
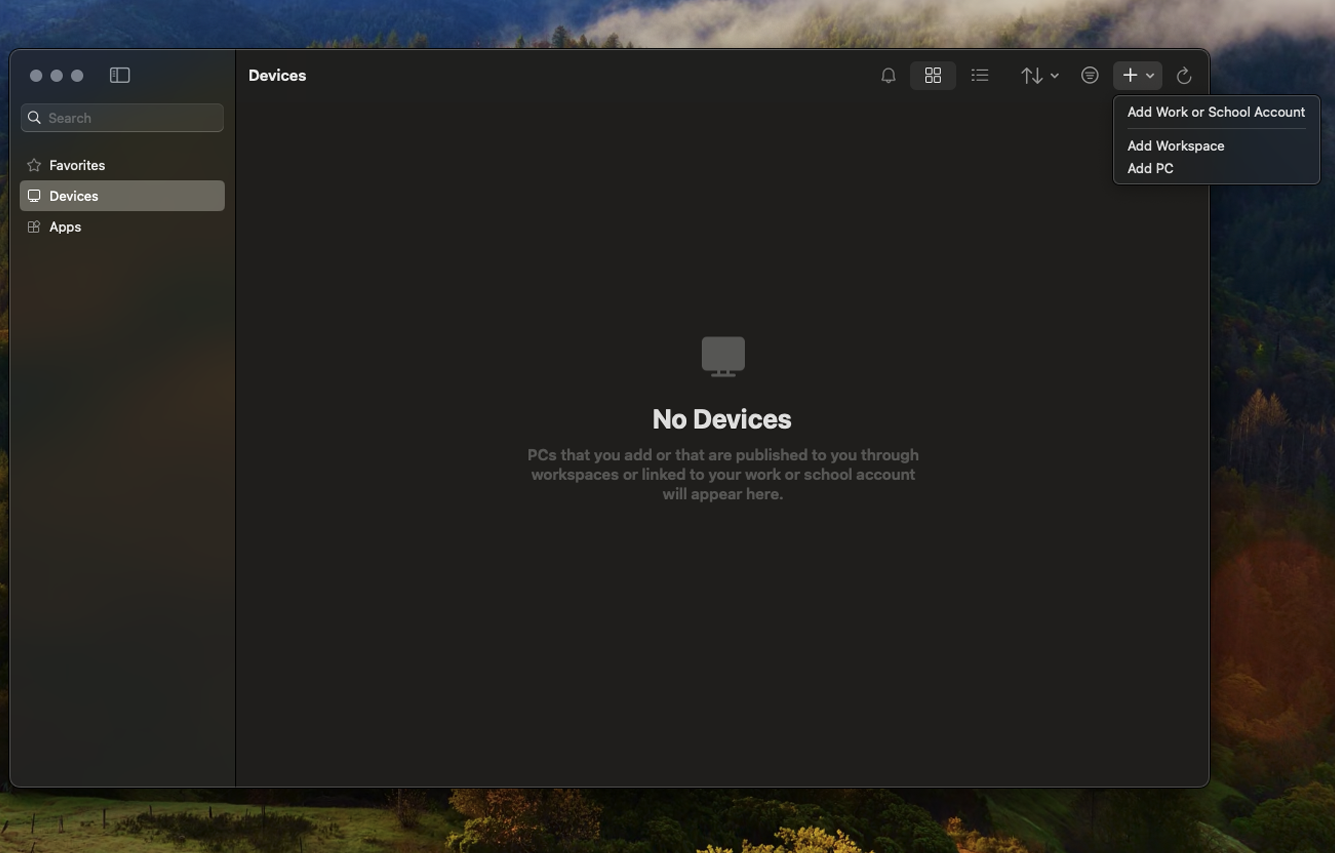
3. On the following screen hit the + button at the top right of the screen, then hit the Add Work or School Account button from the drop down.
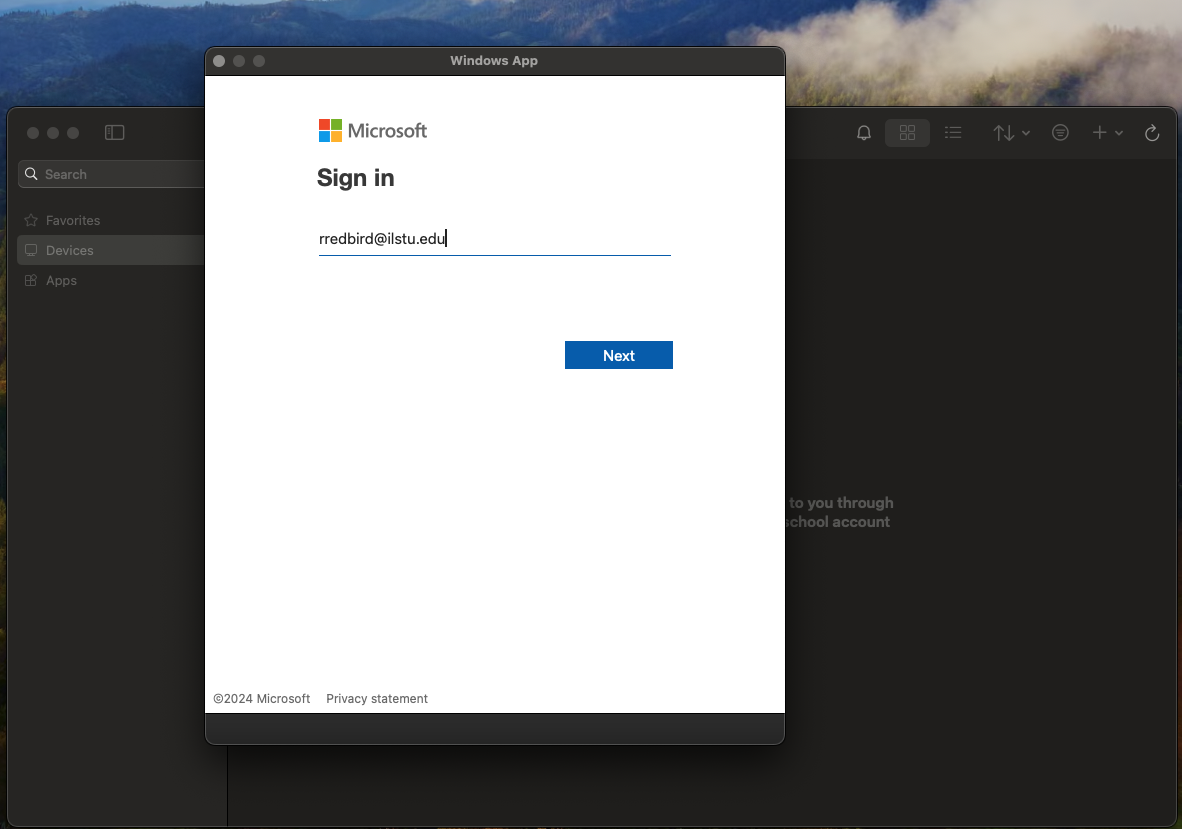
4. Login using your Illinois State University Email address.
5. You will then be prompted for a MFA approval. Approve using your usual method.
NOTE: You may be prompted with two MFA request, approve both as you normally would.
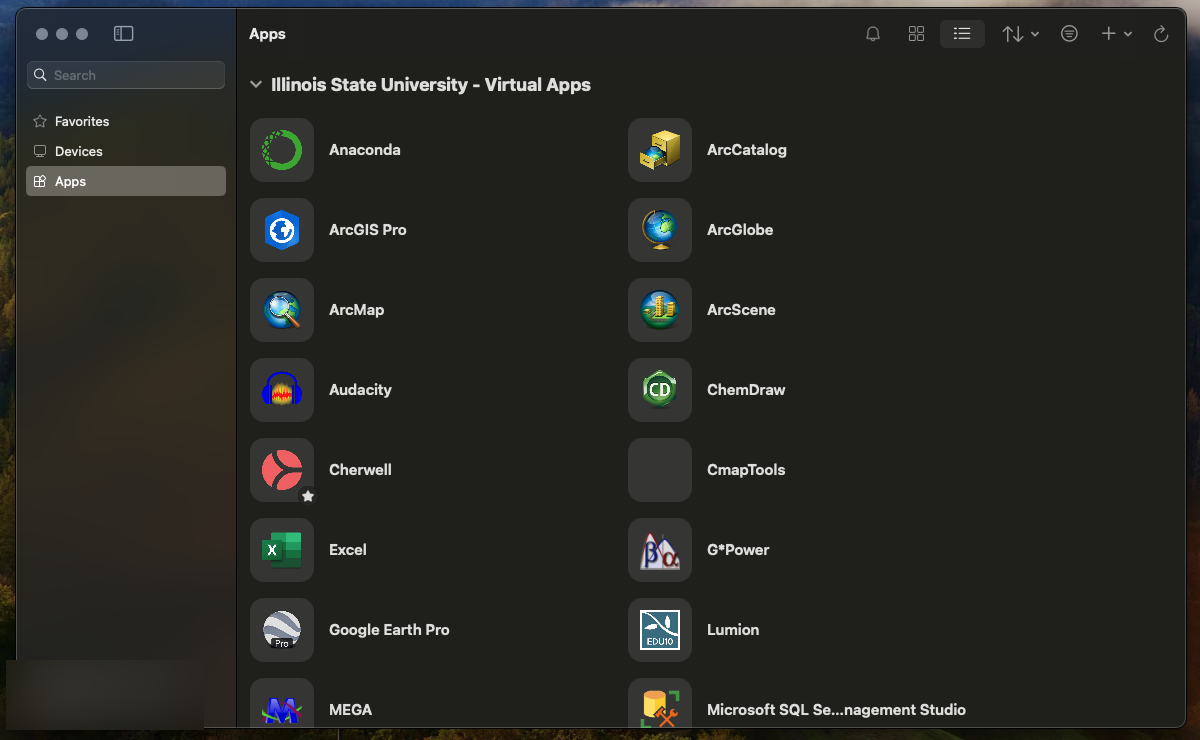
7. You should now see all of the virtual apps available to you.
Folder Redirect and Access
If you want to have access to a specific folder location while using a virtual app, there is an extra step for this on Mac. Once you have downloaded Remote Desktop and added your Workspace, follow the steps below.
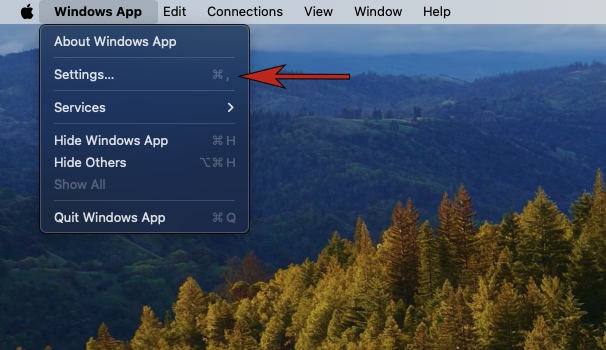
1. With the Windows App open, navigate to the Windows App tab in the upper left corner of your screen and choose Settings.
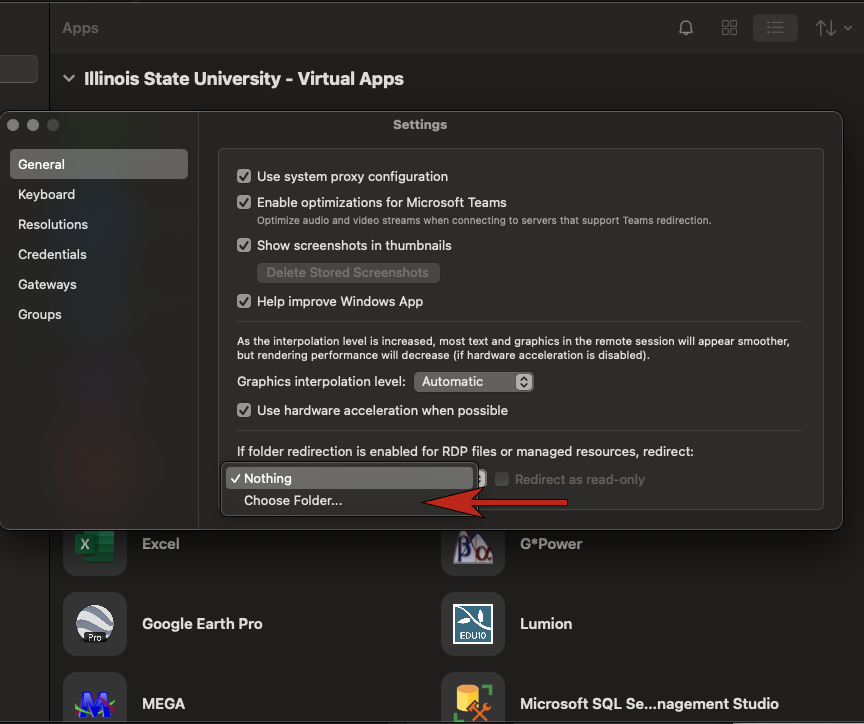
2. In the Settings pop-up screen, navigate to the drop down at the bottom. You will see two options here, Nothing and Choose Folder. If you wish to have access to a specific folder location, you will chose the Choose Folder option and select the location you wish to have access to.
Now, when you are running a virtual app, you should have access to upload from and download to the location you chose above.
- HTML Web Version
Enable Pop-Ups
Ensure you have pop-ups enabled for this site. Further instructions can be found here.
- Open a web browser of your choice and navigate to https://virtualapps.illinoisstate.edu/
- Enter your ULID and password at the Central Login screen
- Enter your MFA code when prompted. NOTE: You may be prompted with two MFA requests, approve both as you normally would.
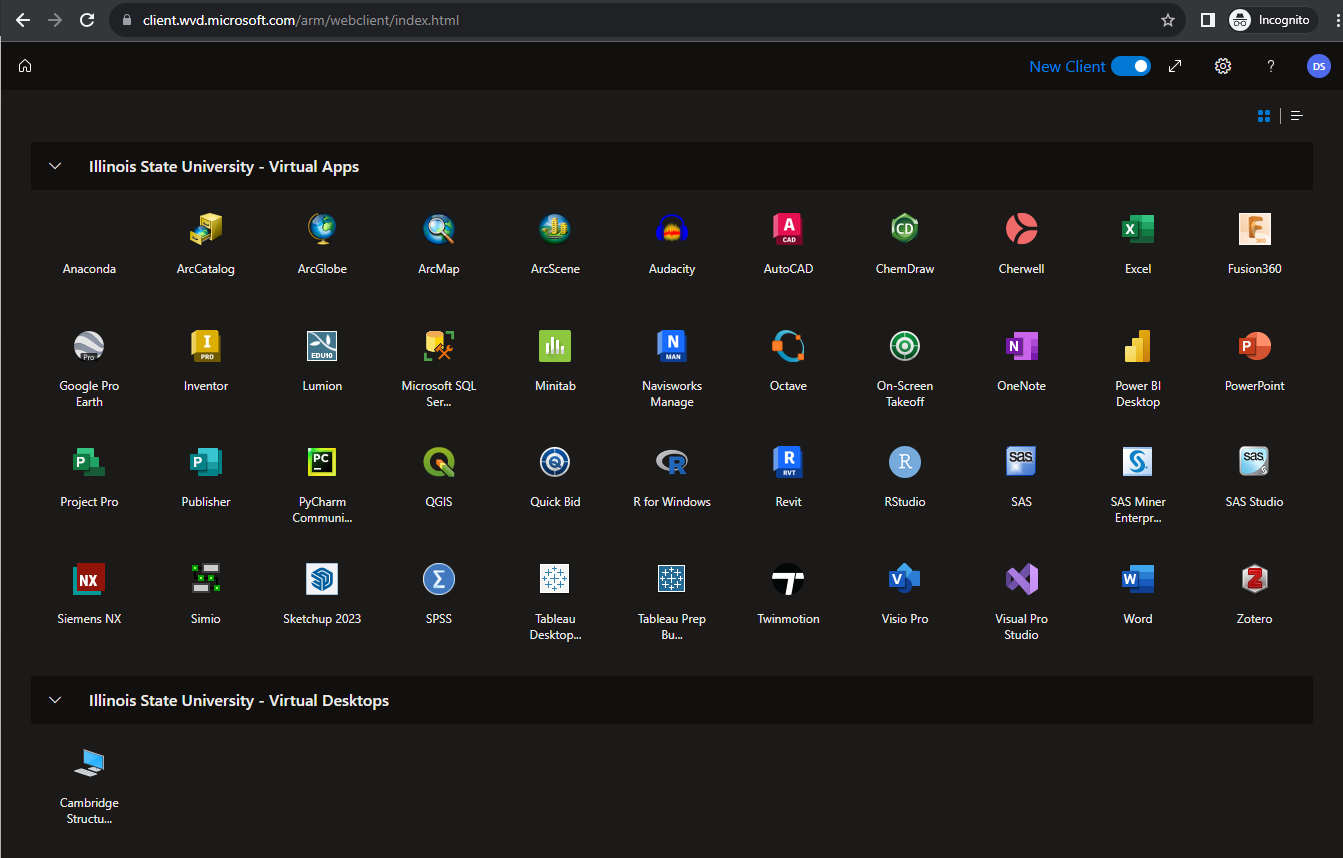
- You will land at the Microsoft landing page for Azure Virtual Desktop, configured for Illinois State University
- Windows App
Important Note
The Windows App can be downloaded and run in both Windows and macOS environments; however, we recommend using the desktop client (see above) for the best possible experience. For more information about the Windows App, see here for Windows and see here for macOS.
Opening Applications and Desktops
Important
Not every application in the screenshot above will be available to all users. This list will vary depending on user license, classes enrolled in, and University affiliation (faculty, staff, or student).
- Double-click one of the icons to launch a session
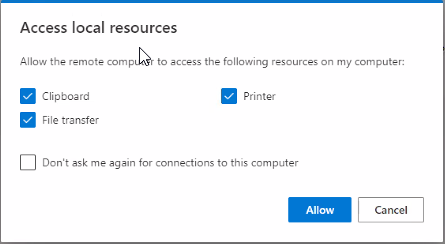
- It is recommended to allow the remote computer to access the Clipboard, Printer, and File transfer on the local computer
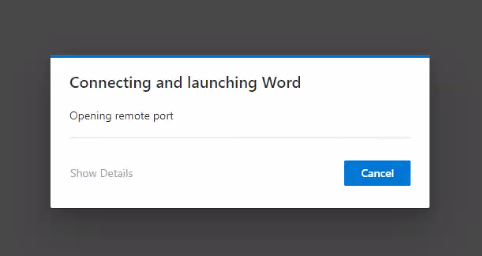
- The virtual session will begin to launch
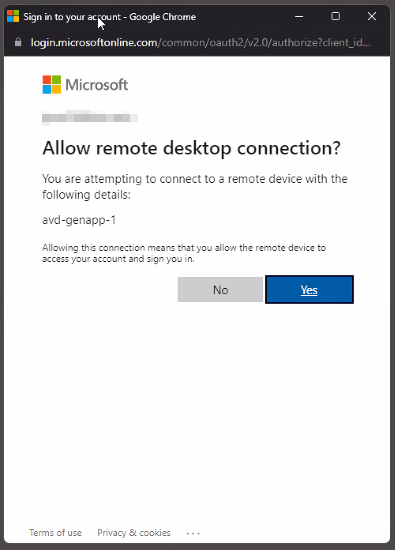
- If this is your first time connecting to an Azure virtual machine, you will need to approve the login
- Your virtual application will now launch

