Accessibility
Adding Images/Image Descriptions in Omni Campus CMS
Last modified 6/5/2024
Including a text description for images on your webpage is essential for ensuring accessibility, particularly for users who rely on screen readers. This text description is commonly referred to as "alt text," derived from the HTML attribute that houses this information. Creating effective alt text is a thoughtful process, as it must convey the same message and purpose as the image. This ensures all users, regardless of how they access your content, have an inclusive experience.
Step 1. Insert Files and Images
To add an image to your page, place the cursor in an editable region. Then, select the "Insert Files and Images" button from the editor toolbar, or simply press Ctrl + M.

Step 2. Click the Source Button
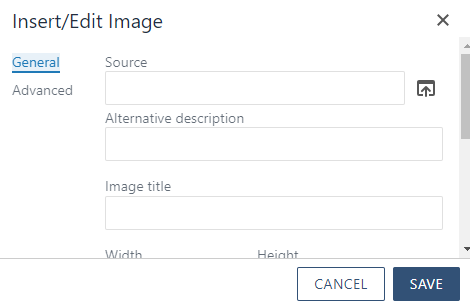
The insert/edit Image window is displayed. Click the source button.
Step 3. Locate and Select Image
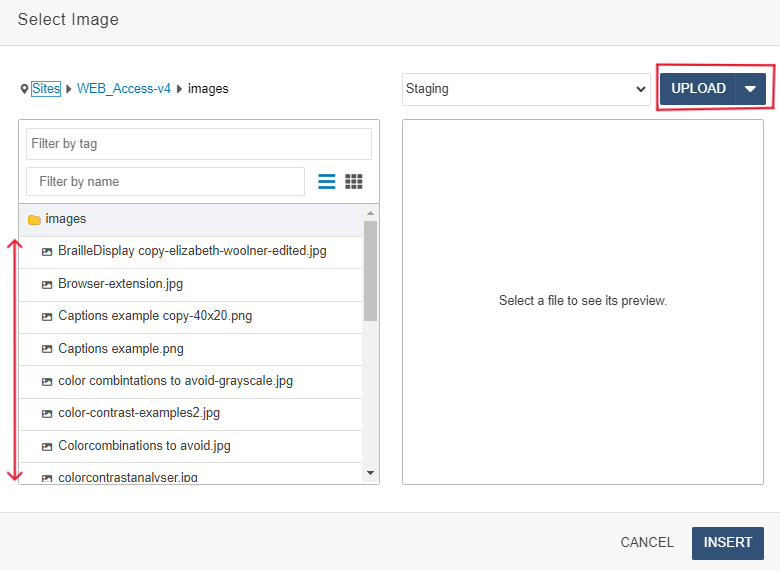
The OmniBrowser window will appear. Locate and select the desired image from the file browser list, or click "Upload" to import it from your device.
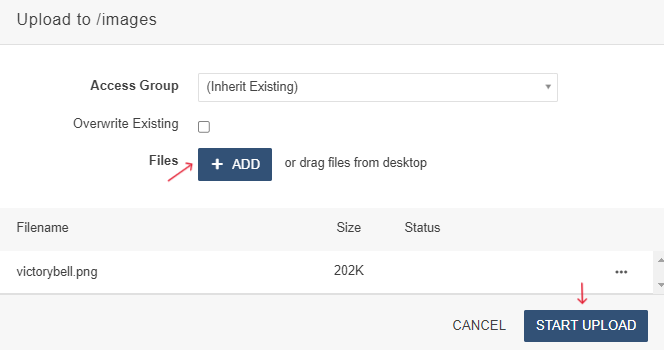
Step 4. Add and Upload Image
Click "Add," then select your image from your device, and click "Start Upload."
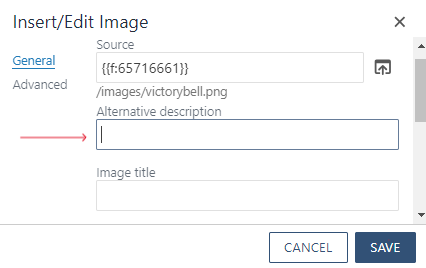
The insert/edit Image window is now displayed. The unique image ID number will appear in the "source" field.
Step 4. Input Alt-Text
Type a description in the Alternative description field and click Save. How to write alt text for images
To edit an image's alternative description, simply right-click on the image, select "Image," and add the alt description.